

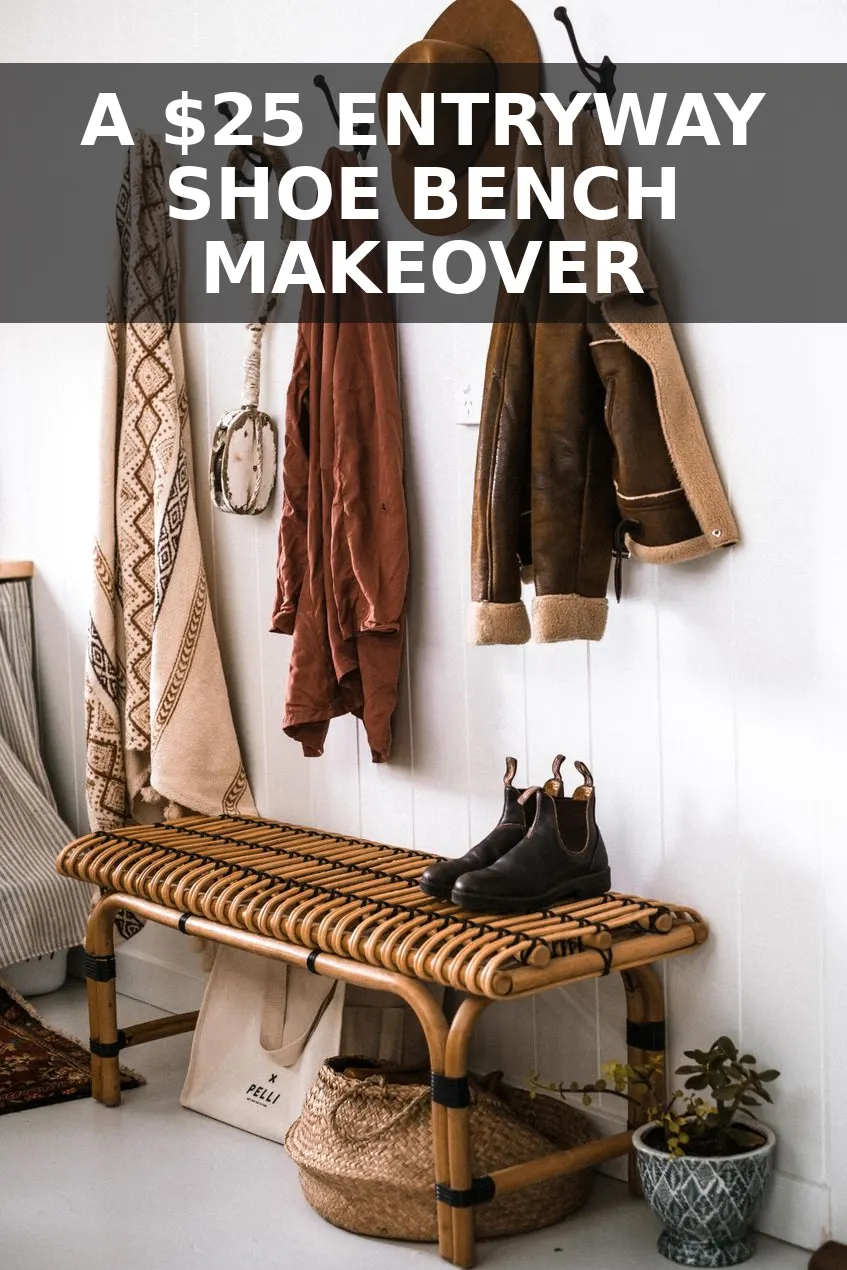
A custom entryway shoe bench makes winter hosting so much smoother, especially when holiday visitors are dropping coats and boots right at the front door. Similar solid wood pieces often cost $350-$450 at high-end furniture stores, but you can build your own bespoke version using basic lumber from a home improvement store. Here is how to create a high-end drop zone for about $25 total.
When selecting your lumber for the shoe bench, always inspect each pine board for deep scratches, warping, or large loose knots. Skip boards that look twisted, as they will prevent your finished shoe bench from sitting flat on the floor. Selecting straight, clear grain boards ensures your entryway shoe bench looks professional rather than hastily assembled.
What You'll Need
- Two 1x12 pine boards cut to 48 inches
- One 1x10 pine board cut to 46 inches for the interior shelf
- Wood glue and 1.5-inch pocket hole screws
- Dark walnut wood stain and a lint-free cloth
- Satin polyurethane sealer
Start by sanding all your pine boards with medium-grit sandpaper until the surfaces feel completely smooth. Wipe away the sawdust with a damp rag. Smooth wood takes stain evenly and gives you that expensive, custom-crafted finish instead of a rough DIY look.
A cheaper swap for store-bought hardware is using scrap plywood for the internal cleats instead of buying extra metal brackets. This keeps your budget strictly at the $25 mark while still providing incredible structural integrity for the lower shoe storage level.
Assemble the Frame
Drill pocket holes into the ends of your shorter shelf board and the top edges of your side support pieces. Apply a thin bead of wood glue along the joints for extra holding power before driving your screws in tight. Keep your corners square by checking them with a framing square as you assemble the outer box.
Once the basic frame is put together, wipe away any excess glue that squeezed out of the seams with a wet rag. Let the glued joints dry for about an hour before moving on to the staining process. If you notice any gaps, a small amount of wood filler will hide them completely once painted or stained.
A common mistake when building a shoe bench is skipping the pilot holes, which frequently causes the soft pine to split at the corners. Always drill pilot holes before inserting fasteners into the ends of the boards. Fixing split wood requires completely disassembling the joint, so taking this extra precaution saves considerable time and frustration.
Position the lower shoe shelf exactly 6 inches off the floor to accommodate high winter boots and chunky footwear effortlessly. Use scrap wood spacers underneath the shelf board to hold it steady while driving in your side fasteners.
Stain and Seal the Wood
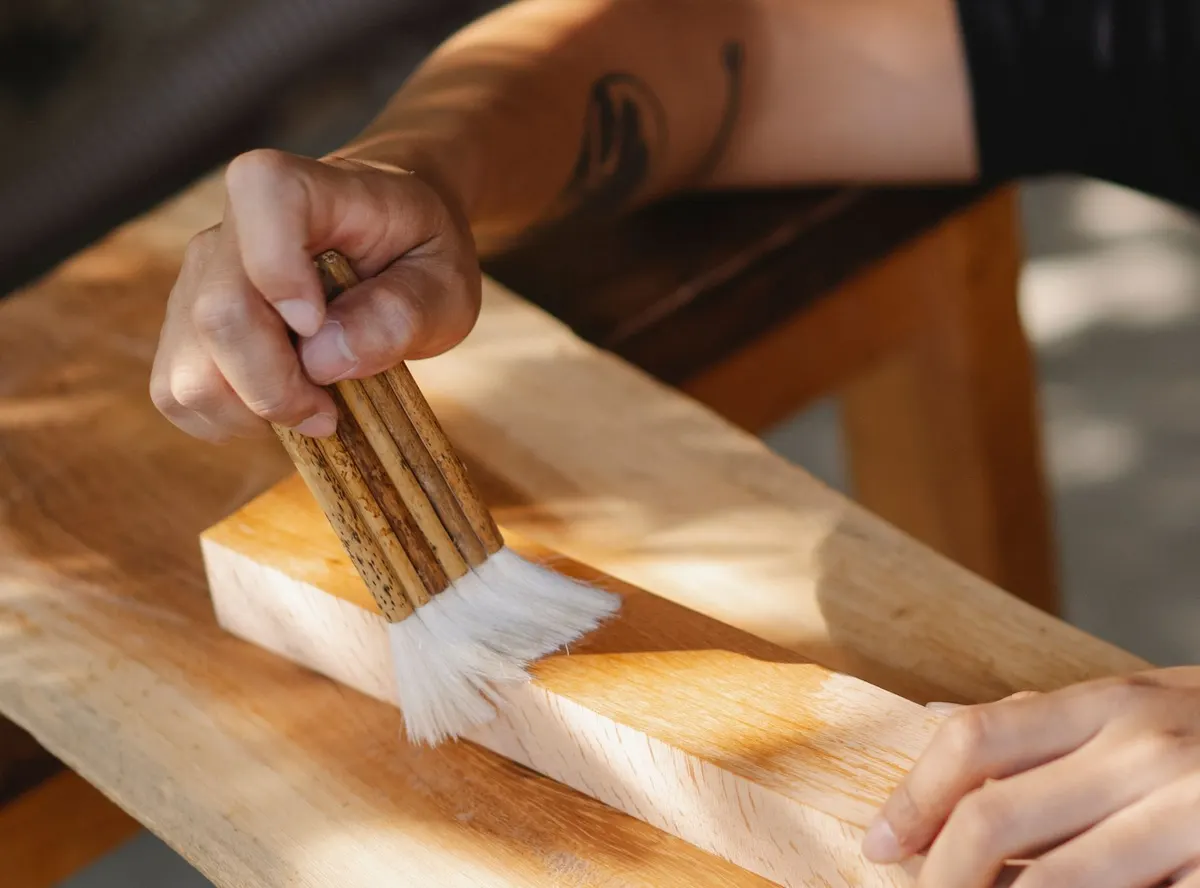
Dip a clean cloth into your dark walnut wood stain and rub it firmly along the grain of the pine. Let it sit for a few minutes to soak in before wiping off the excess with a dry rag. For a rich, layered look that mimics aged hardwood, add a second coat after the first one dries completely.
Finish your shoe bench by brushing on two thin coats of satin polyurethane to protect against wet winter boots and heavy daily use. Ventilate the room well while applying the sealer, and lay any oily rags flat to dry completely before throwing them away. All in, this custom entryway upgrade came out to about $25 and takes just two hours of active work.
For ongoing care of your finished shoe bench, simply wipe away dust and melting snow with a soft, damp microfiber cloth. Avoid harsh chemical cleaners or abrasive scouring pads that can dull the protective polyurethane coat over time. Applying a fresh coat of furniture wax once a year will keep the wood looking pristine and rich.
You Might Also Like
- 5 Thoughtful Gifts to Make From Thrift Store Finds for Entryway Lovers
- Thrifted Woven Baskets: What to Look For and What to Leave Behind
- The High-End Eclectic Brass Candlestick Gift Set for a Fraction of the Price
Frequently Asked Questions
Will this shoe bench hold the weight of adults sitting down to put on boots
Yes, building it with solid pine boards and securing the joints with pocket holes creates a sturdy seat that easily supports everyday weight.
What kind of finish should I use so winter boot moisture does not ruin the wood
Apply a coat of satin polyurethane over your wood stain to create a protective, water-resistant barrier against wet snow and mud.
Can I adjust the dimensions to fit a narrow apartment hallway
Certainly, you can cut the main boards shorter to fit tighter entryways while keeping the same simple construction steps.


0 Comments