

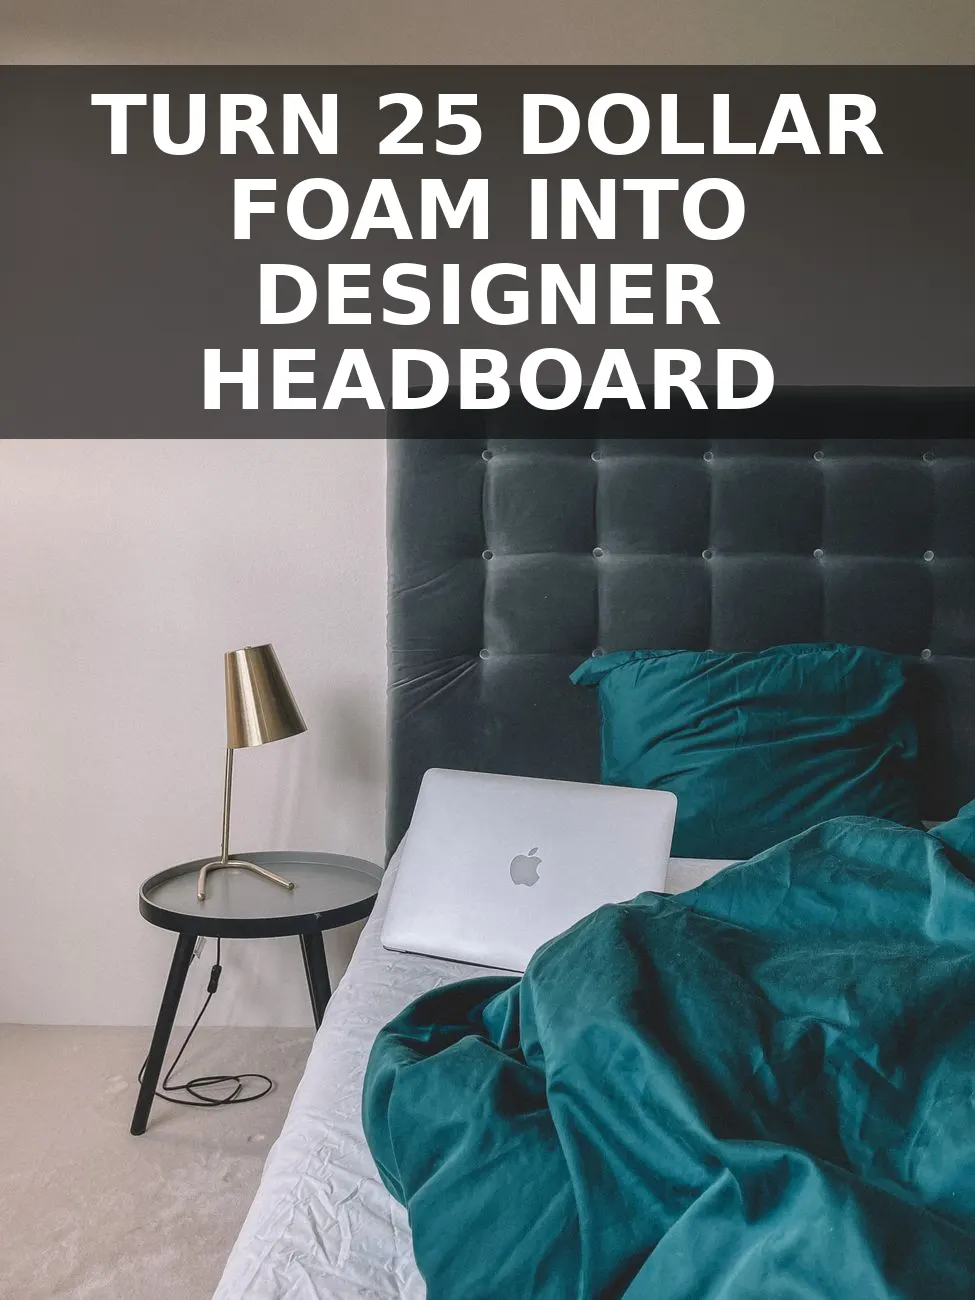
If you have been swooning over those $600+ channel-tufted or scalloped velvet headboards from high-end retailers like Soho Home or Lulu & Georgia, here is a secret high-end interior designers won't tell you: you can craft the exact same architectural focal point in under two hours using a $25 piece of construction insulation board and zero power tools.
Why Rigid Insulation Foam Beats Heavy Plywood Every Time
Traditional DIY headboard tutorials tell you to buy heavy 3/4-inch plywood, which requires a jigsaw, a garage workspace, and heavy-duty wall anchors to keep it from ripping out your drywall. Rigid XPS insulation board (the thick pink or blue foam sheets sold at big-box hardware stores) costs under $25 for a massive 4x8-foot panel. It is structural enough to hold its shape, soft enough to slice with a simple utility knife, and lightweight enough to hang securely with basic picture hangers.
The $45 Material Breakdown
Here is what you need to pick up before starting this weekend project:
- 1 Sheet of 1.5-inch Owens Corning FOAMULAR XPS Board: $24.97 at Home Depot.
- 2 Yards of High-Density Quilt Batting: $8.00 at Walmart or craft stores.
- 2.5 Yards of Performance Velvet or Linen: $16.00 to $22.00 (look for clearance upholstery fabric).
- 1 Can of Heavy-Duty Spray Adhesive: $7.98 (Gorilla or 3M 77).
- Utility Knife & Heavy-Duty Staple Gun with 3/8-inch staples.
Step 1: Mark and Cut Your Architectural Silhouette
Lay your 4x8 foam panel flat on the floor. For a standard Queen bed, you will want a finished width of 62 inches and a height between 32 and 40 inches above the top of your mattress. Use a pencil and a tape measure to mark your outer boundary.
To get that trending organic scalloped top edge, trace around a 10-inch kitchen pot lid or a round serving platter to create uniform arches across the top line. Take your utility knife with a fresh, sharp blade and score along your pencil marks. Extend the blade fully and make two or three deep passes. The foam will snap clean along your scored lines with light pressure, leaving smooth, curved edges.
Step 2: Wrap and Contour with Batting
Unroll your quilt batting over a clean floor space and place your cut foam shape face-down on top. Spray a light layer of spray adhesive directly onto the front face of the foam to prevent the batting from shifting over time.
Pull the batting snugly over the curved top edge and wrap it around to the backside of the foam panel. Fire your staple gun directly into the back face of the foam at a 45-degree angle. Because XPS foam is dense, 3/8-inch staples sink in and hold tight. Smooth out any gathers around the scalloped curves by pulling the batting taut as you staple, then trim away any excess material with scissors.
Step 3: Secure Your Luxe Fabric Layer
Iron or steam your upholstery velvet to remove every wrinkle before wrapping. Lay the fabric face-down on your floor and place the padded foam face-down on top of it, aligning the grain of the fabric vertically.
Starting at the top center arch, pull the velvet taut—not stretched to distortion, but firm—and staple it to the back of the board. Work your way outward toward the left and right corners. When navigating curved arches, make small relief cuts in the fabric margin (stopping 1/2-inch before the front edge) to allow the fabric to lay flat without bunching or wrinkling on the front face.
Step 4: Mount Flush to the Wall in 5 Minutes
Because the completed headboard weighs under 8 pounds, you do not need to drill into wall studs or build a complex bed frame attachment. Screw a 12-inch aluminum French cleat bracket ($11 on Amazon) into the back of the headboard using wide-flange hollow-wall anchors, or stick four pairs of 16 lb Command Picture Hanging Strips along the back corners. Press firmly against your bedroom wall behind your mattress base, step back, and enjoy your custom $600 designer headboard that cost you less than a takeout dinner.


0 Comments