

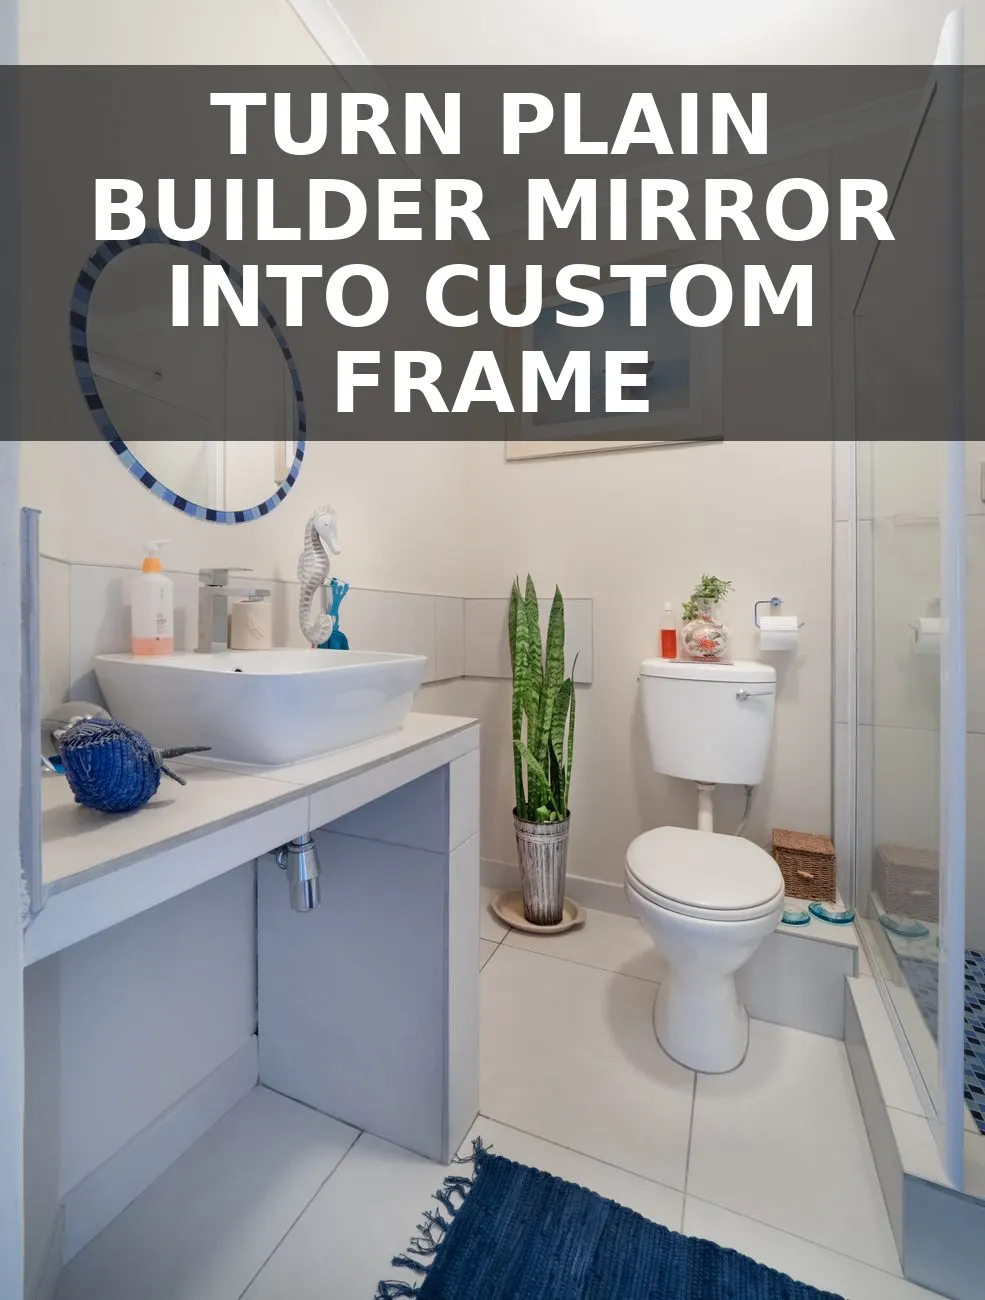
If your bathroom is currently sporting a frameless, clip-mounted builder-grade mirror that looks straight out of a 1990s rental, don't risk shattering the glass by ripping it off the wall—you can transform it into a $400 custom-framed luxury vanity mirror in under two hours for less than $30.
Why Builder Mirrors Are a Goldmine for Budget Decorators
Those massive, frameless sheet mirrors builder contractors install are actually high-quality heavy glass. Replacing one with a designer wood-framed mirror from stores like Pottery Barn or Rejuvenation easily runs between $350 and $600, especially for oversized dimensions. By building a custom wooden face frame directly over the existing glass, you retain the expansive light-reflecting benefits of the original mirror while disguising the raw edges and plastic plastic clips entirely.
Materials and Budget Breakdown
You do not need an expensive miter saw or advanced woodworking skills for this project. Here is what you need to pick up at your local home improvement store:
- Pine Trim Boards (1x3 or 1x4 SELECT Pine): $12 - $16 total. Select pine is pre-sanded and straight, saving you prep time.
- Construction Adhesive: $6 for a tube of Liquid Nails Fuze*It or Heavy-Duty Construction Adhesive.
- Wood Filler & Sandpaper: $5 for a small tub of sandable wood filler and 220-grit sandpaper.
- Paint or Stain: $8 for a sample pot of matte black latex paint or a small can of gel stain in Walnut or Antique Oak.
- Painter's Tape: $4 for high-tack blue painter's tape to hold pieces while drying.
Step 1: Measure and Account for Wall Clips
Measure the exact height and width of your mirror glass. To ensure the frame covers the raw edges completely, add 1/4 inch to both the length and width measurements so your wooden frame extends slightly beyond the glass perimeter.
Next, examine how your mirror is attached. If your mirror is secured with raised plastic clips, measure the thickness of the clip. You have two simple solutions: notch out the back of your pine boards where they hit the clips using a chisel, or place small wooden shim spacers (1/8-inch thick) on the back of the trim so the entire frame sits flush over the clips without rocking.
Step 2: Cut and Fit Your Frame Corner Joints
You can create two distinct looks depending on your tool setup:
Option A: The Modern Farmhouse Butt Joint (No Miter Box Required)
Have the home improvement store cut your top and bottom horizontal pieces to the exact total width of the mirror. Cut the two vertical side pieces shorter by the combined width of the top and bottom boards. This creates clean, right-angle joints that look modern, intentional, and require zero angled cuts.
Option B: The Classic Mitered Corner
If you own a simple $15 plastic miter box and hand saw, cut your corners at a 45-degree angle. Take your time aligning the inner corners with the edges of your mirror glass for a seamless frame look.
Step 3: Prep, Sand, and Finish Before Installation
Never paint or stain your wood frame after attaching it to the glass. Sand your pine boards smoothly using 220-grit sandpaper, wiping away all dust with a damp cloth.
Apply your finish of choice. For a vintage brass or antique gold look, apply a coat of satin black spray paint followed by a light buffing of antique gold metallic wax rub. For a warm organic modern vibe, apply one coat of deep walnut gel stain followed by a clear matte sealer. Paint the backside of the outer 1/2 inch of the frame black as well—this prevents raw wood from reflecting in the glass once mounted.
Step 4: Mount Directly to the Glass Surface
Clean the outer border of your mirror with rubbing alcohol to remove grease and soap residue. Apply a heavy bead of construction adhesive along the back outer edge of your wooden frame pieces. Avoid applying adhesive too close to the inner edge where it might squeeze out and show in the mirror reflection.
Press the bottom horizontal board into place first, using a spirit level to ensure it is straight. Secure it firmly with painter's tape taped directly onto the mirror glass and wall. Repeat this process for the side and top pieces, pressing the joints tightly together. Fill any minor corner gaps with wood filler and touch up with paint once dry.
Leave the painter's tape in place for 24 hours while the adhesive cures completely. Remove the tape to reveal a solid, heavy-duty custom frame that completely elevates your entire bathroom vanity.


0 Comments