

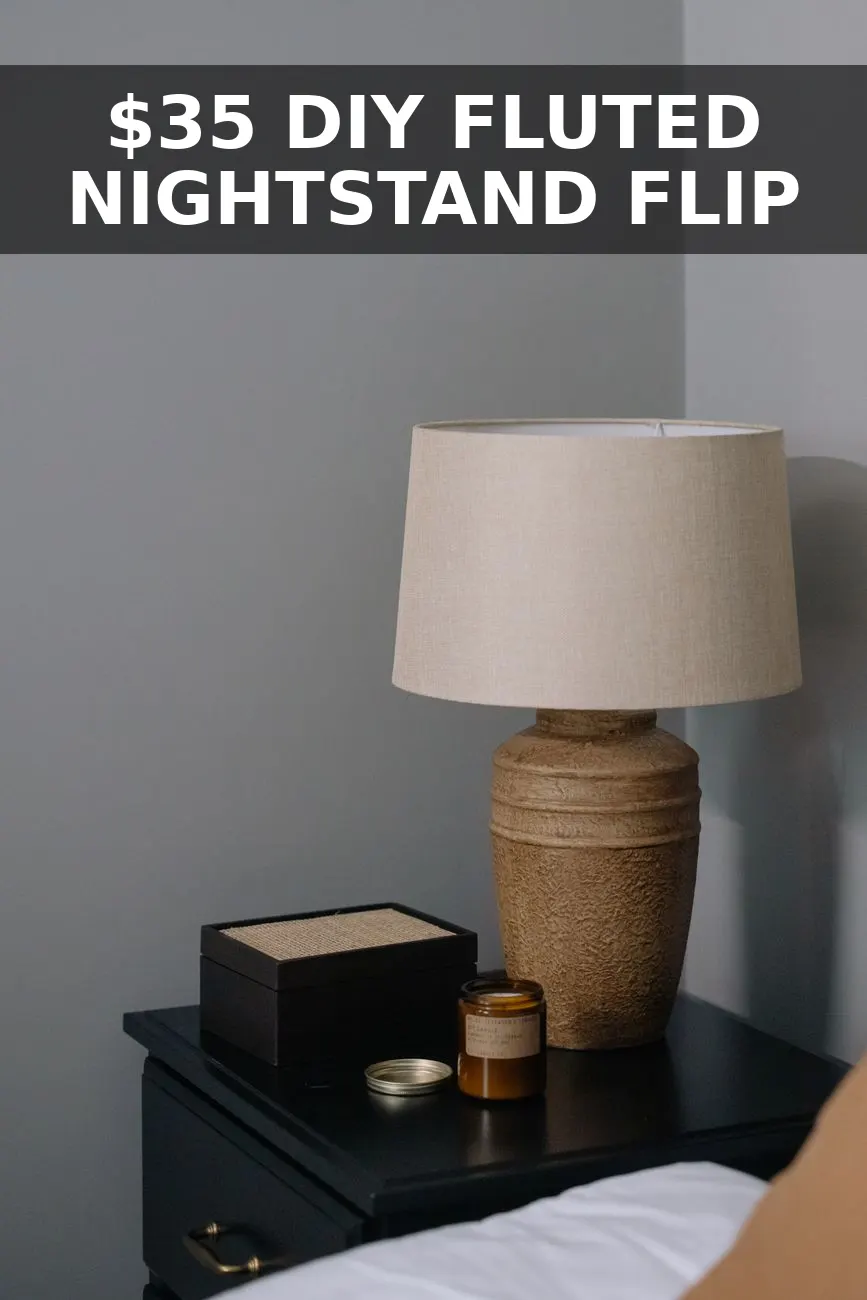
That $400 fluted wood nightstand cluttering your Pinterest board doesn't require a high-end furniture budget—just $35 and a single afternoon. With a handful of inexpensive half-round wood moldings and a thrifted or basic flat-pack table, you can recreate this designer trend for a fraction of retail prices.
The Supplies You Need (And What They Cost)
Before heading to the home improvement store, grab your measurements. Here is the exact budget breakdown for this build:
- Base Table: A plain cylinder or square nightstand from a thrift store, Facebook Marketplace, or IKEA ($10–$15).
- 1/2-inch Wood Half-Round Trim: You will need roughly 12 to 18 strips of 8-foot pine half-round molding ($1.18 per strip at most hardware stores, totaling ~$15).
- Construction Adhesive: Liquid Nails Fuze It or Gorilla Heavy Duty Construction Adhesive ($5).
- Sandpaper & Wood Filler: 220-grit sandpaper sheet and a small tub of stainable wood filler ($4).
- Finish: Satin latex paint or a warm interior wood stain like Minwax Early American ($6).
Step 1: Prep the Surface for Maximum Grip
Adhesion is the secret to making cheap furniture modifications last. Scuff the entire outer surface of your base table using 150-grit sandpaper. You are not trying to strip the finish entirely; you simply want to remove the slick factory sheen so the adhesive can grip the wood fiber. Wipe down the entire piece with a damp microfiber cloth to remove all fine dust particles, then let it dry completely.
Step 2: Measure and Cut Your Trim Strips
Measure the exact vertical height of the table body from the bottom edge to just below the top rim. Using a hand miter saw and box ($12 if you don't already own one), cut your half-round wood trim strips to this exact length.
Dry-fit the first five cut pieces side-by-side against the table to verify that your cuts are completely flush. Cut enough strips to wrap entirely around the perimeter of the table base.
Step 3: Attach the Fluted Panels
Apply a thin zig-zag line of construction adhesive down the flat back of your first wood strip. Press the strip firmly against the table base, starting at the back seam of the piece. Use painter's tape across the top and bottom of the strip to hold it firmly in place while the glue sets.
Repeat this process strip by strip, pushing each new piece tight against the previous one to eliminate any gaps. Once the entire perimeter is covered, wrap two tight loops of painter's tape around the center of the table to hold all pieces flush while curing. Allow the adhesive to cure for at least 4 hours.
Step 4: Fill, Sand, and Apply the Luxe Finish
Once dry, peel off the painter's tape. Dab small amounts of stainable wood filler into any tiny gaps between strips or along the top edge where the trim meets the table top. Let the filler dry for 30 minutes, then gently sand the entire piece with 220-grit sandpaper until smooth to the touch.
For a modern organic oak look, apply one coat of wood stain followed by a clear matte polyurethane. If you prefer a bold contemporary vibe, prime with one coat of shellac-based primer and finish with two coats of satin dark olive green or charcoal latex paint.
Total Project Cost Breakdown
By using standard off-the-shelf trim instead of pre-fabricated tamboured wood panels, you save over $350 compared to retail stores. Your total investment is roughly $35 to $40, delivering a solid wood, custom-textured piece that looks like it came straight out of a luxury design showroom.


0 Comments