

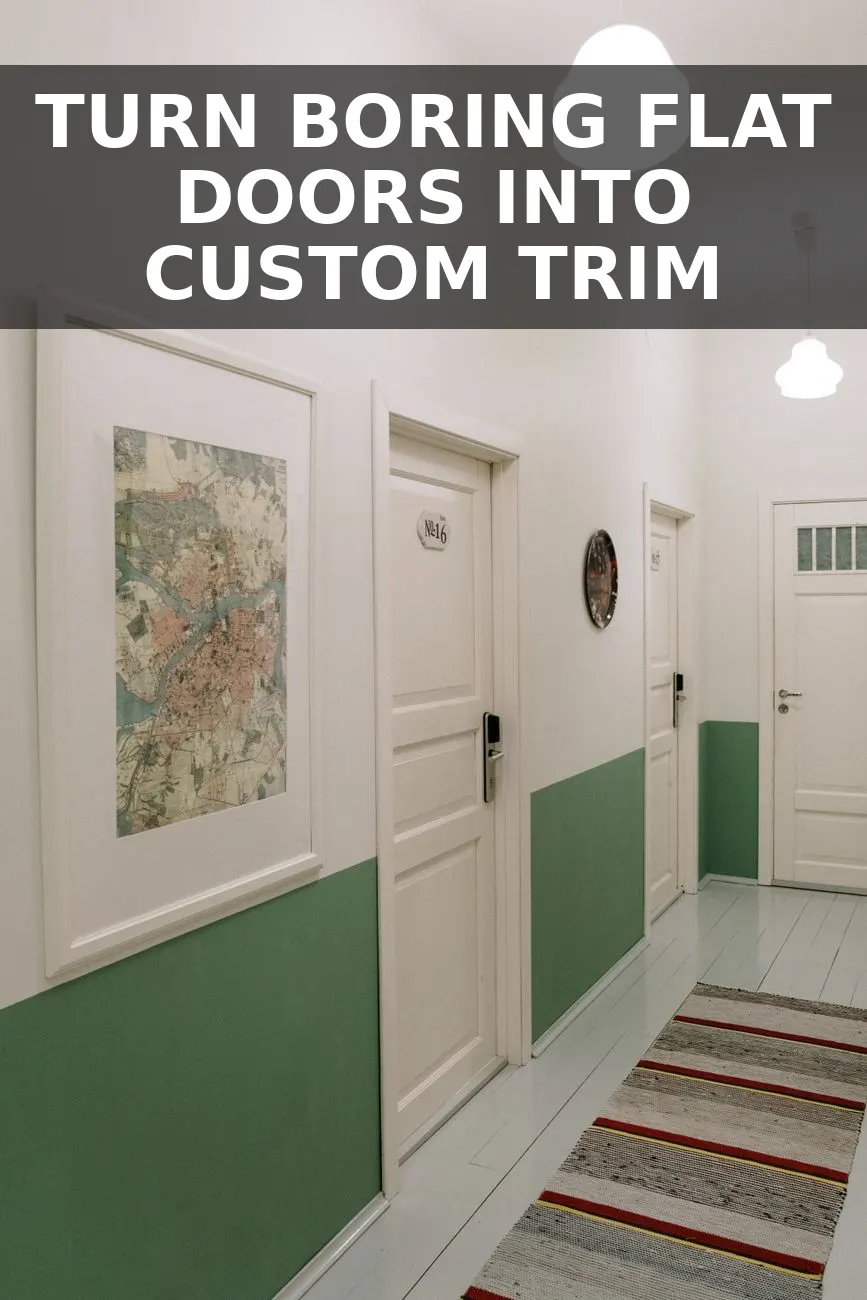
If your home is filled with hollow, flat-panel interior doors that scream 'cheap builder grade,' you do not need to spend $300 to $500 per doorway replacing them with solid-core upgrades. With less than $20 in materials from your local home improvement center and two hours of effort, you can transform any flat wood or composite door into a high-end, custom-paneled door that looks custom built.
The Secret to High-End Trim on a Shoestring Budget
The trick to making a flat-panel door look like solid, custom millwork comes down to scale, seamless joints, and paint sheen. Standard trim pieces are often too thick and catch on the door frame when swung shut. The secret material here is 1/4-inch thick by 1.5-inch wide MDF lattice trim strips, which cost roughly $1.50 to $2.00 per 8-foot piece.
Supplies You Will Need
- 4 pieces of 1/4-in x 1.5-in x 8-ft MDF lattice strips: ~$8 to $10 total
- Construction adhesive (like Liquid Nails FuzeIt): ~$4
- Painter's caulk: ~$3
- Wood filler or lightweight spackle: ~$3
- Tools: Miter shears or a simple plastic miter box with a hand saw, tape measure, level, painter's tape, 220-grit sandpaper
Step 1: Calculate Your Panel Dimensions
Lay your door flat across two saw horses or on a clean rug. For a classic 2-panel Shaker look, you want a top square panel and a longer bottom rectangle panel. Measure the total width and height of the door face.
A foolproof formula for standard 80-inch doors is to leave a 4.5-inch border along the top, bottom, and side edges, plus a 5-inch horizontal rail in the middle (usually placed slightly above the center handle line, around 36 to 40 inches from the bottom). Mark these guidelines directly on the door using a pencil and a straight edge.
Step 2: Cut and Test-Fit the Trim
Using miter shears (a $15 tool that cuts thin MDF like butter without making sawdust) or a small hand saw, cut your perimeter pieces first. You will need two long vertical stiles for the left and right sides, and three horizontal rails (top, middle, and bottom).
Dry-fit all pieces onto your drawn pencil lines. Make sure every corner butt-joint sits completely flush. If your cuts leave tiny gaps, do not panic—paintable caulk will make them disappear completely in later steps.
Step 3: Secure Without Power Tools
Because hollow-core doors have paper honeycomb inside rather than solid wood, traditional finish nails often fail to hold trim securely. Construction adhesive provides a far stronger, permanent bond.
Apply a thin, squiggly bead of construction adhesive down the back of each MDF strip, keeping it 1/4 inch away from the edges so it doesn't squeeze out everywhere. Press the strip firmly onto your pencil line and secure it firmly with painter's tape every 6 inches while the glue cures (about 30 minutes).
Step 4: The Finishing Tricks That Prevent a Cheap DIY Look
To make applied trim look like a single molded piece of wood rather than pieces glued onto a flat board, follow these two non-negotiable steps:
- Fill the joints: Apply wood filler to every spot where two MDF ends meet. Once dry, sand it perfectly smooth with 220-grit sandpaper until you cannot feel the seam with your fingertip.
- Caulk every inner and outer edge: Run a tiny bead of painter's caulk along all outer and inner edges where the MDF meets the flat door surface. Smooth it immediately with a damp finger or sponge. Caulk fills the micro-gaps and creates an authentic, built-in shadow line.
Step 5: Prime and Paint
Apply one coat of stain-blocking primer over the raw MDF cuts, followed by two coats of high-quality interior trim paint in a Satin or Semi-Gloss finish. Dark muted tones like charcoal, olive green, or warm mushroom turn these retrofitted doors into striking architectural statements, while classic clean white delivers a timeless high-end look for under $20 total.


0 Comments