

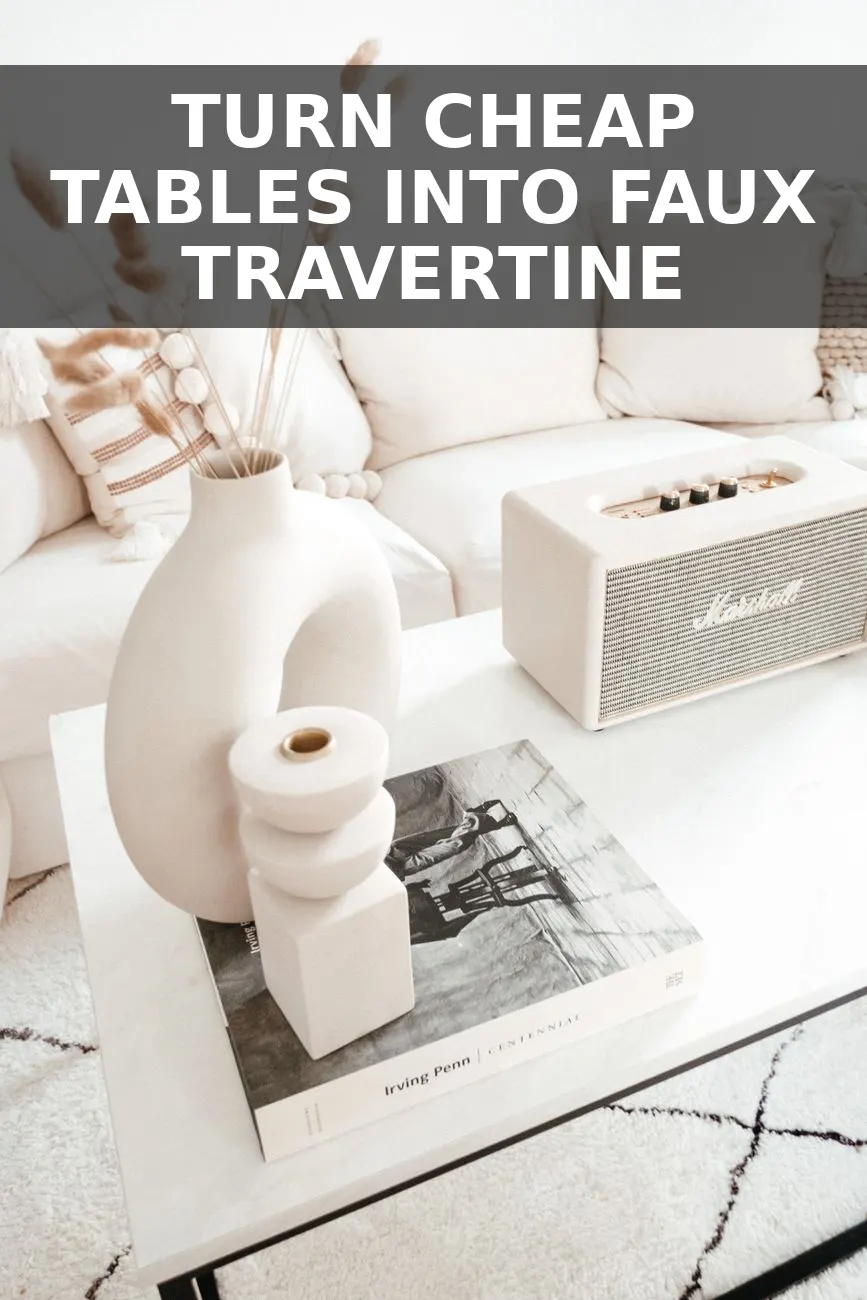
That outdated laminate coffee table sitting in your local thrift shop for $20 holds the exact same minimalist silhouette as the $600 travertine stone tables cluttering high-end design feeds right now. With one inexpensive hardware store secret—feather-finish concrete skim coat—you can transform slick, fake wood into a velvety, matte faux-stone centerpiece over a single weekend without any special masonry tools.
The Supplies You Need (Under $30 Total)
Before starting, grab these budget-friendly materials from your local home improvement center:
- Henry 549 Feather Finish (10 lb box): $18. This grey or white cement binder bonds exceptionally well to sanded wood and plastic laminate.
- Flexible 4-inch Drywall Putty Knife: $3. A plastic or stainless steel joint knife for spreading smooth layers.
- 220-Grit and 400-Grit Sandpaper: $4. Essential for achieving that silky stone texture.
- Shellac-Based Primer: $5 (sample size). Provides absolute adhesion so the concrete mix never peels.
- Matte Polycrylic Sealer: $4 (sample size). Protects the surface from water rings while keeping the stone completely matte.
Step 1: Prep the Laminate Surface for Adhesion
Concrete will not stick to shiny, non-porous laminate on its own. Start by scuffing the entire table with coarse 80-grit sandpaper to break the slick factory clear coat and create micro-grooves. Wipe away all dust using rubbing alcohol or a tack cloth. Next, apply one thin coat of shellac-based bonding primer. This crucial step acts as permanent double-sided tape between the table frame and your new concrete finish.
Step 2: Mix and Apply the First Base Coat
Mix two cups of Henry Feather Finish with cool water in a disposable bucket until it reaches a smooth, thick pancake-batter consistency. Working quickly before it sets, scoop small amounts onto your putty knife and spread a thin coat (about 1/16th of an inch) across the entire table. Focus on covering the surface evenly rather than creating perfection; the first layer simply establishes your base foundation. Let it dry completely for two hours.
Step 3: Create the Faux Travertine Texture
Once the base coat turns light grey and dry, mix your second batch slightly thicker—closer to peanut butter. Apply this second layer with sweeping, semi-circular strokes. To mimic the organic pitting of real cut travertine, intentionally leave tiny ridges and shallow chatter marks with the edge of your putty knife. Do not smooth every imperfection; naturally pitted texture is what makes the finished piece look authentic rather than painted.
Step 4: Sand and Polish the Texture
Allow the table to cure overnight. The next morning, use 220-grit sandpaper to knock down sharp ridges and even out high spots. To achieve that butter-soft stone tactile feel, follow up immediately with 400-grit sandpaper across the top and sides. Vacuum away all fine concrete dust and wipe the table clean with a slightly damp microfiber towel. You will instantly see a soft matte pattern that looks strikingly like real limestone.
Step 5: Seal for Water-Resistant Daily Use
Raw cement is highly absorbent and will stain easily from liquid spills. Apply three thin coats of water-based matte polycrylic using a high-density foam roller, allowing one hour of drying time between coats. Choosing a dead-flat or matte finish is vital; glossy coats instantly ruin the believable illusion of raw stone. Once cured for 24 hours, your durable, high-end stone centerpiece is ready for coffee table books and styling.


0 Comments