

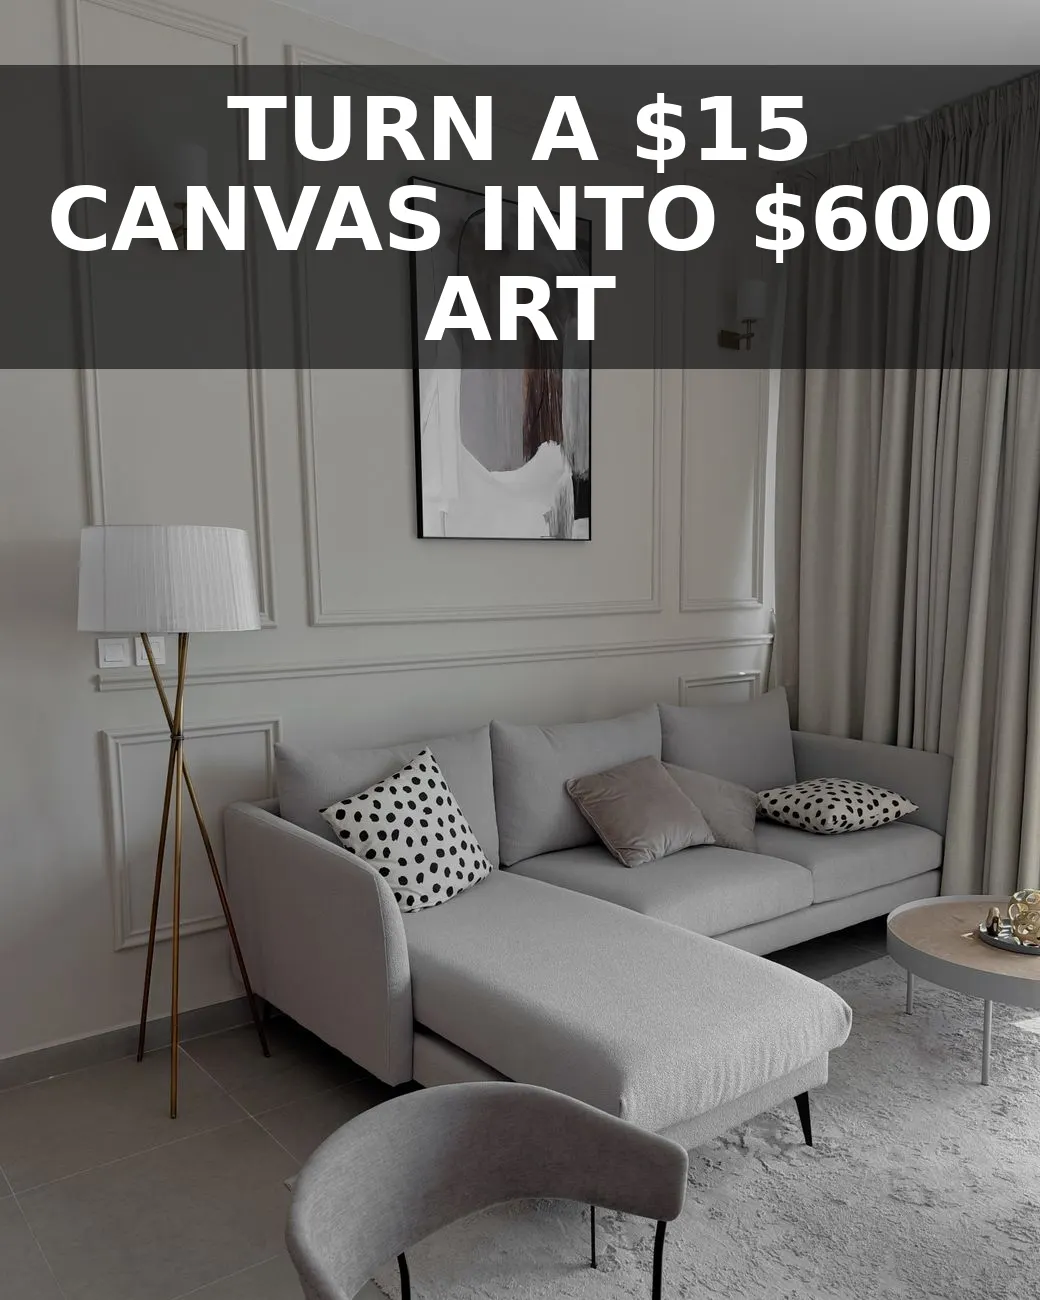
You do not need a four-figure gallery budget to fill a blank wall with high-end designer art—you can easily sculpt your own $600-style minimalist textured canvas for less than $30 using a basic artist canvas, a tub of drywall compound, and a notched trowel from the hardware store.
Why Textured Minimalist Art Dominates Modern Decor
Oversized minimalist art has taken over high-end interior catalogs, often retailing anywhere from $400 to $1,200 for a single large frame. These pieces rely on tactile depth, soft shadows, and neutral monochromatic tones rather than complex brushwork to anchor a living space or bedroom.
By substituting bold colors with physical texture, you create a focal point that feels serene, intentional, and custom-made. The secret to making your finished canvas look like a gallery acquisition rather than a weekend craft project comes down to proper backing support and precise trowel control.
The Supplies You Need (Total Cost: ~$25)
- 24x36 Canvas: Grab a standard stretched canvas at craft stores like Michaels or Joann for around $12 to $15 when using a coupon.
- Premixed Joint Compound: A 3.5-quart tub of standard drywall mud costs roughly $6 to $8 at Home Depot or Lowe's.
- Notched Adhesive Trowel: A $3 plastic trowel with 3/16-inch V-notches or square notches creates crisp, repeating ridges.
- Sample Paint Can: A $5 sample can of matte interior paint in off-white, warm beige, or muted gray.
- 120-Grit Sandpaper: A single sheet ($1.50) to smooth down sharp edges after drying.
Step 1: Support the Back of the Canvas
Before applying heavy joint compound, you must reinforce the underside of your stretched canvas. Wet drywall mud adds weight, and standard canvas fabric will sag inward under the load, causing severe cracking as it cures.
Lay your canvas face up on a flat table. Slide a piece of dense cardboard, scrap hardboard, or a stack of flat hardback books under the center so the fabric sits completely flush against a solid surface while you work. This prevents flexing and keeps your texture pattern level.
Step 2: Spread and Sculpt the Compound
Scoop a generous amount of premixed joint compound onto the center of the canvas. Using a flat putty knife or margin trowel, spread an even layer roughly 1/8-inch thick across the entire canvas face, covering the front completely.
While the mud is still wet, take your notched trowel and drag it across the surface to carve out continuous lines. Broad sweeping arches, dramatic diagonal waves, or precise geometric grids yield the cleanest modern look. If you make a mistake or do not like the pattern, simply scrape it flat and try again.
Step 3: Sand, Prime, and Paint
Allow the joint compound to cure undisturbed for 24 to 48 hours. Once the mud turns bright chalky white and feels dry to the touch, run 120-grit sandpaper lightly across the ridges to knock off rough burrs and soften sharp peaks.
Wipe away all dust using a dry microfiber cloth. Finish by painting the surface with two thin coats of matte or flat interior paint. A flat finish absorbs light, accentuating the deep shadows carved by your trowel grooves without creating reflective glare.
Pro Tips for an Elevated Finished Look
Add a Custom Floating Frame
To give your artwork a true gallery appearance, frame the edge with four simple pine lattice strips from the lumber aisle ($4 total). Cut them to length, sand them smooth, stain them dark walnut or paint them matte black, and nail them directly into the sides of your canvas frame.
Prevent Cracking with Thin Layers
Never apply joint compound thicker than 1/4 inch in a single spot. Thick pockets trap moisture, leading to deep shrink cracks as it dries. Keeping your base coat uniform ensures a smooth, crack-free finish every time.


0 Comments