

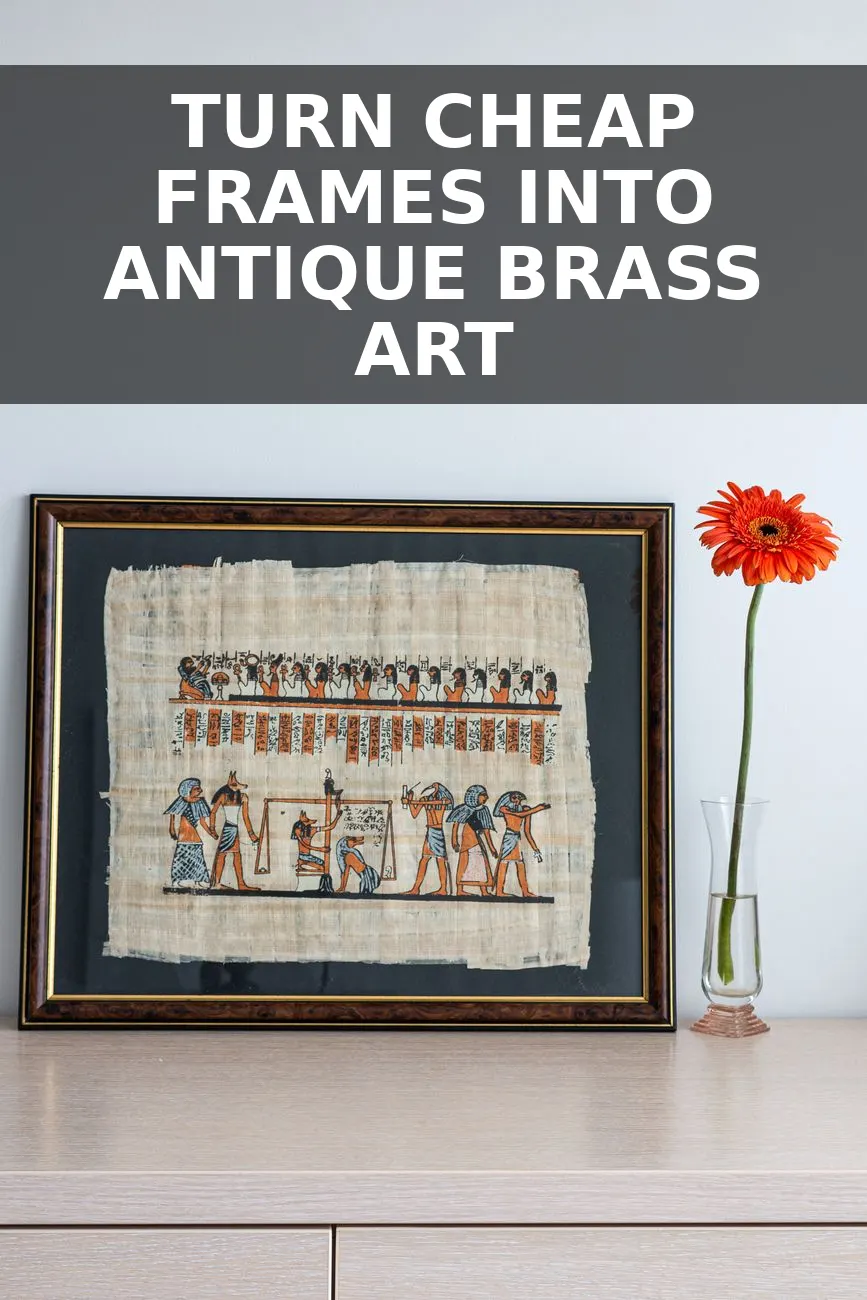
If you have ever fallen in love with an ornate $250 vintage brass frame at an antique market only to walk away because of the price tag, this quick weekend project will ruin retail wall art for you forever.
The Secret to High-End Brass Realism on a Plastic Budget
Most cheap frame flips fail for one simple reason: people spray paint plastic with shiny metallic gold spray paint and call it a day. The result usually looks like painted plastic, lacking the weight, shadow, and warm patina of real aged brass.
To get an authentic antique look, you need three elements: structural detail, a dark shadow base coat, and a hand-waxed metallic finish. You can complete this entire project in under an hour of active work time using basic tools you might already have in your junk drawer.
Supplies and Budget Breakdown
- Base Frame ($2–$10): Any flat-faced wooden or plastic frame from IKEA (like the $10 RIBBA series) or a thrift store.
- Resin Corner Appliqués ($5–$8): Search online retailers for lightweight resin decorative corner scroll moldings or flexible wood-carved appliqués.
- Super Glue Gel ($3): Cyanoacrylate gel glue works best for quick bonding.
- Matte Black Acrylic Paint ($1–$2): Standard craft paint or leftover black wall sample paint.
- Wax Finish ($6–$8): Rub 'n Buff wax metallic finish in Antique Gold or European Gold.
Step 1: Build the Architectural Detail
Start by removing the glass, backing, and art from your frame. Clean the frame profile with rubbing alcohol to remove grease and dust so your adhesive sticks permanently.
Lay your resin corner appliqués onto the four corners of your frame. If your frame has a wider trim, you can also add a centered medallion along the top edge. Apply a small bead of super glue gel to the back of each appliqué, press firmly onto the frame corner, and hold in place for 30 seconds. Allow the glue to cure fully for 15 minutes.
Step 2: Create Shadow and Depth
Here is where the transformation actually happens. Real aged brass has dark tarnished oxidation buried deep in the carved grooves. To replicate this, paint the entire front, sides, and detailed moldings of your frame with matte black acrylic paint.
Use a stiff-bristled craft brush to work the black paint into every single nook, crevice, and seam around the glued resin pieces. Do not worry about keeping it smooth; slight brush texture adds to the old-world character. Let the black paint dry completely, which takes about 20 minutes.
Step 3: Apply the Aged Gold Finish
Squeeze a tiny pea-sized drop of Rub 'n Buff Antique Gold onto a piece of cardboard. Dab the tip of your pointer finger or a dry bristle brush lightly into the wax. Before touching the frame, dab off most of the product onto a clean paper towel—you want a dry-brush effect, not a thick coat.
Gently buff the gold wax across the raised surfaces, outer edges, and high points of the resin carvings. Keep your pressure light so the wax skims over the top surfaces while leaving the deep black paint intact inside the carved recessed grooves. This contrast gives the frame instant 100-year-old depth.
Let the wax set for 30 minutes, then take a soft microfiber cloth and gently buff the frame in circular motions. The light friction will convert the matte wax into a soft, glowing antique brass luster.
Step 4: Style It Like a High-End Designer
To finish the look, skip standard white printer paper for your art. Download a public-domain oil painting print from museum digital archives and print it onto matte cotton rag paper or fine-textured watercolor paper ($2 at local print shops).
Pop your new print into the frame, reassemble the backing, and hang it as a standalone statement piece or inside a gallery wall alongside brass sconces and warm vintage textiles.


0 Comments